
Maintenance tips for laser machines come down to five habits: keep the cooling loop above the dew point, protect optics from dirt and moisture, feed the machine clean dry gas, track a few numbers every shift, and diagnose alarms instead of resetting them. This guide turns those habits into 15 practical tips, with tables, fixes and decision rules for fiber and CO2 laser cutters.
Our laser machine maintenance guide already gives you the daily, weekly and monthly checklist for fiber laser cutters. This article goes further. It explains the habits behind that checklist: cooling and condensation control, power and room conditions, optics protection, spare parts, data tracking and a clear line between operator work and laser cutting machine repair. It also covers CO2 machines, including Boss Laser troubleshooting basics.
Always follow the manual supplied with your machine. Where this guide gives a number, treat it as a starting point and replace it with the limit your laser source maker specifies.
Key Takeaways
- Cooling comes first. Cooling faults are a leading cause of nuisance alarms. Set the chiller above the dew point and use the coolant your source maker specifies.
- Clean, dry gas protects optics. Oil and water in assist gas damage lenses faster than almost any other cause.
- Room and power matter. Dust, heat, humidity and unstable voltage harm the parts you cannot see.
- Five tracked numbers beat a thick binder. They show trouble weeks before an alarm stops production.
- Split the work. Operators clean and change consumables. Trained engineers handle the laser source, high-voltage parts and safety interlocks.
- Fiber and CO2 share principles, not routines. Fiber machines need connector and fiber care. CO2 machines also need mirror alignment, tube checks and strong exhaust.
Laser Cutter Maintenance: Fiber vs CO2 Differences
Both machine types need clean optics, cool water and stable motion. The beam path decides what else you must do.
| Area | Fiber laser cutter | CO2 laser cutter |
|---|---|---|
| Beam delivery | A flexible delivery fiber carries the beam to the cutting head. You protect the connector and the fiber bend radius. | Mirrors guide the beam along the gantry. Mirror alignment drifts and needs periodic checks. |
| Optics | Protective lens, collimating lens and focusing lens sit in a sealed head. | Several mirrors and a focus lens need cleaning and alignment more often. |
| Cooling | Dual-loop chillers are common, so dew point control is critical. | A water chiller cools the tube. Water temperature and quality drive tube life. |
| Laser source | Solid-state source with no tube to replace. | A glass tube loses output with use and eventually needs replacing. |
| Exhaust | Extraction removes fume and dust from metal cutting. | Smoke and residue coat lenses and mirrors quickly, and neglected residue is a fire risk. |
| Alignment | Nozzle centering and focus checks. | Mirror alignment and focus tests, especially after any impact. |
If you run a fiber cutter, follow the full schedule in our laser machine maintenance guide and use the tips below as the habits that make the schedule work. If you run a CO2 cutter, jump to the Boss Laser troubleshooting section.
Industrial Laser Machine Cooling System Maintenance Guide
The chiller keeps the laser source and optics inside a narrow temperature window. Four tips protect that window.
Tip 1: Set the Chiller Above the Dew Point
Condensation forms when a surface is colder than the dew point of the surrounding air. Water on a fiber connector, a lens or a circuit board can end a production day, or worse, damage the source. Keep the water setpoint a few degrees above the dew point (many makers say 2 to 3 °C), and never above the maximum in your source manual.
The table shows how quickly a humid workshop moves the dew point. It assumes a 20 °C water setpoint.
| Room temperature | Relative humidity | Dew point | Risk at a 20 °C setpoint |
|---|---|---|---|
| 22 °C | 50% | 11.1 °C | Low |
| 28 °C | 60% | 19.5 °C | Marginal: only 0.5 °C of margin |
| 25 °C | 80% | 21.3 °C | Condensation likely |
| 30 °C | 70% | 23.9 °C | Condensation likely |
Use these habits to stay safe:
- Log temperature and humidity at every start-up, and look up the dew point on a chart or meter.
- Fix the room, not the limit. If the dew point climbs above your maximum water setpoint, dehumidify or air-condition the room.
- Respond fast to condensation. Stop emission, power down as the manual directs, dry the area, dehumidify, and restart only when parts are dry. Call service if water reached the optics or the connector.
Tip 2: Use the Coolant Your Source Maker Specifies
Coolant rules differ by brand. Some source manuals call for deionized or distilled water with low conductivity (one widely used manual states below 10 µS/cm). Others allow additives or glycol mixes, and one major laser maker warns that deionized water can corrode mixed-metal cooling circuits. The rule is simple: follow your source manual, not a forum post.
- Never top up with tap water. It leaves scale and feeds algae.
- Measure conductivity with a handheld meter when you change the coolant and whenever an alarm appears.
- Replace coolant on the manual’s interval. Heavy-duty shops should shorten it. Our maintenance guide gives a starting schedule.
| Coolant problem | What you see | Fix |
|---|---|---|
| Scale | Falling flow, rising temperature, white deposits | Drain, flush with an approved cleaner, refill with the specified water |
| Algae or bacteria | Cloudy or milky water, odor, slime on filters | Drain, flush, replace filters, add an approved additive only if the manual allows |
| High conductivity | Conductivity alarm or readings above the limit | Replace the water and the deionizing filter |
| Mixed fluids | Cloudy water after a top-up with the wrong fluid | Drain and refill with the specified fluid |
| Freezing | Flow alarm or cracked parts in cold weather | Use approved antifreeze and keep the chiller in a room above freezing |
Tip 3: Watch Flow and Pressure, Not Only Temperature
A chiller can display the right temperature while flow slowly drops. Record flow and pressure at start-up. A gradual fall points to a blocked filter, scale or a kinked hose.
- Clean the dust filter and condenser fins on a schedule.
- Label each loop of a dual-loop chiller, and check each setpoint against the manual.
- Inspect hoses, clamps and quick connectors for kinks, leaks and hardening.
- Treat repeated flow or temperature alarms as a fault to diagnose, not a nuisance to reset.
Tip 4: Match Chiller Capacity to Laser Power and Room
An undersized or poorly placed chiller fails in summer first. The values below come from one chiller guide and serve as an indicative range. Use your supplier’s figure for your exact source.
| Fiber laser power | Indicative chiller cooling capacity |
|---|---|
| 1,000 W | About 2.3 kW |
| 2,000 W | About 3.3 kW |
| 3,000 W | About 5.0 kW |
| 6,000 W | About 7.5 kW |
Place the chiller where air can flow freely, away from heat sources and dusty doors. Xinli’s Fiber Laser Cutting Machine runs from 1,000 W to 6,000 W, so send us your power and room details and we will confirm the matching cooling setup.
Room, Power and Start-Up Tips
The workshop around the machine decides how hard the machine has to work. These three tips fix the conditions first.
Tip 5: Control Dust, Heat and Humidity in the Room
A stable room protects optics, electronics and cooling. One major laser maker specifies +15 to +25 °C and 40 to 70% humidity for its own machines. Your range may differ, so check your manual and then hold it steadily.
- Keep the machine away from grinding, welding and open doors.
- Keep electrical cabinet doors closed, and clean cabinet fans and filters on a schedule.
- Vacuum dust off electronic parts instead of blowing it deeper into the cabinet.
- Keep extraction ducts and filters clear so smoke and fume leave the room, not the optics.
- Keep the machine out of direct sunlight and away from heat sources.
Tip 6: Protect the Machine from Poor Power
Unstable voltage causes random alarms, drive faults and early electronics failure. A qualified electrician should install and test the supply.
- Use a correctly sized, dedicated supply. Do not share the circuit with welders or large compressors.
- Add voltage regulation and surge protection if your grid fluctuates.
- Check grounding when you commission the machine and once a year after that.
- Measure voltage under load every quarter, and log any trips or restarts.
Tip 7: Follow One Start-Up and Shutdown Order
A fixed order prevents condensation, thermal shock and gas contamination. Post it beside the controller.
Start-up
- Check room temperature, humidity and the dew point margin.
- Switch on the chiller and wait until water temperature and flow are stable.
- Open the gas supply, check pressure and drain moisture traps.
- Power up the laser and controller, and investigate every alarm before you clear it.
- Run a short test cut or nozzle check before production.
Shutdown
- Finish the job and stop emission.
- Park the head and switch off the laser source as the manual directs.
- Switch off the chiller last.
- Close gas valves, drain traps and clear slag from the table.
- Write the shift entry in the log.
Beam Path and Optics Tips
Our maintenance guide lists the step-by-step lens cleaning routine. These tips explain how to stop optics from getting dirty in the first place.
Tip 8: Protect the Delivery Fiber and Connector
The delivery fiber carries the full beam power, so damage here is expensive.
- Never bend the fiber tighter than the minimum radius in your manual.
- Check the cable route after any gantry or drag chain change.
- Leave connector work to trained technicians. Keep protective caps on whenever a connector is open.
- Never touch a connector face, and never open one in a dusty bay.
Tip 9: Protect Optics Before You Clean Them
Most lens damage starts upstream. Oil and water in the assist gas, dust that enters when you open the head, and spatter from a worn nozzle all reach the lens first.
- Fix the gas first. Fit a dryer and oil and particle filters, and drain water traps every shift.
- Check the head purge pressure whenever lens contamination returns.
- Open the head only at a clean, dry bench with powder-free gloves, lint-free wipes and high-purity alcohol.
- Replace the protective lens first when quality drops. It is the cheap part that guards the expensive ones.
Tip 10: Treat Reflective Metals with Care
Polished aluminum, copper and brass can reflect light back into the cutting head and the source. Many fiber lasers include back-reflection protection, but only if you respect it.
- Follow your source maker’s limits for reflective materials, thickness and parameters.
- Use the recommended focus and piercing settings for each material.
- Stop and inspect the lens, nozzle and fiber when a back-reflection alarm appears. Never reset it and keep cutting.
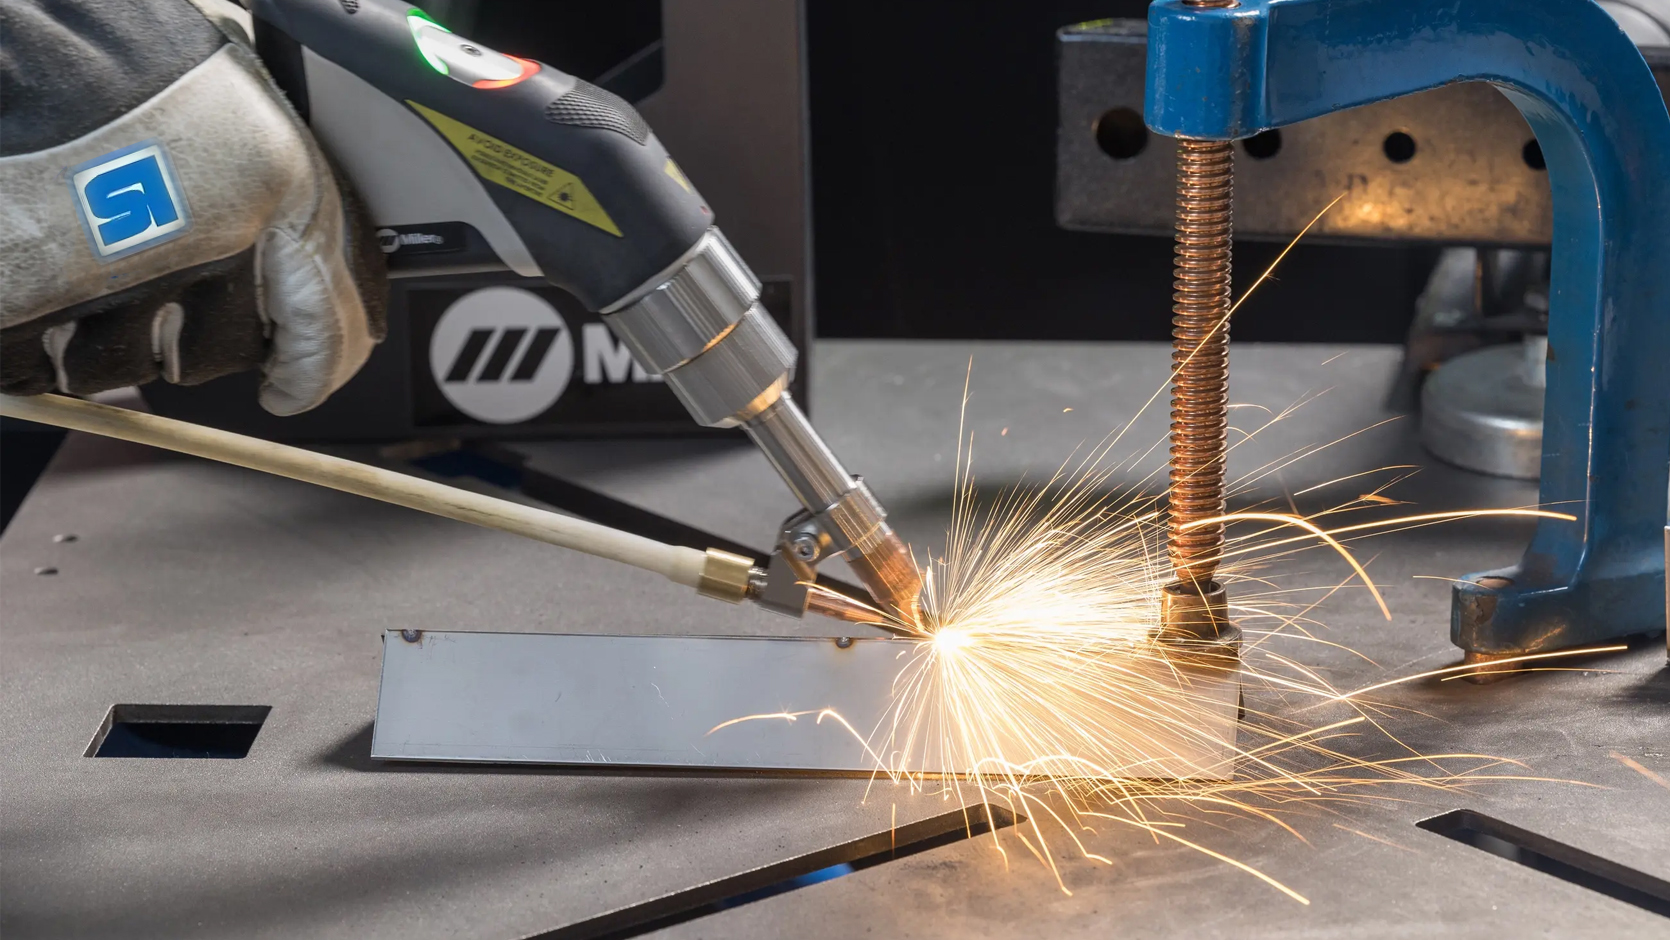
Welding machines face the same risk. Our guides to the fiber laser welding machine and the handheld laser welding machine explain how these welders work and which metals they join.
Data, Spares and SOP Tips
Good habits only last when you measure them, stock for them and write them down.
Tip 11: Track Five Numbers Every Shift
You do not need a thick binder. Five numbers reveal most problems weeks before an alarm. The triggers below are suggested starting points, so tune them to your shop.
| Number | How to record it | Suggested action trigger |
|---|---|---|
| Cutting time on a reference job | Time the same part, material and parameters once a month | 10% slower: check optics, cooling and gas, then ask service to measure source power |
| Nozzle and protective lens life | Hours or pierces per part | Life drops by half: check gas quality and nozzle centering |
| Chiller temperature, flow and conductivity | Read at start-up | Any drift outside manual limits: inspect filters, then replace coolant if conductivity rises |
| Gas pressure and consumption | Gauge reading and gas used per beam-on hour | Sudden rise: look for leaks or a damaged nozzle |
| Alarms and stoppages | Count per week with the alarm code | Same code twice: open a service ticket |
These numbers also feed your cost model. See how consumables and maintenance enter the hourly rate in our fiber laser cutting cost per hour guide.
Tip 12: Stock Critical Spares
Waiting a week for a nozzle costs more than the nozzle. Start with the list below and adjust after you track real usage.
| Spare part | Why you need it | Suggested minimum |
|---|---|---|
| Nozzles (every type you use) | Daily wear part | Two to four weeks of average use |
| Protective lenses | First line of defense for the optics | Two to four weeks of average use |
| Ceramic rings | Height sensing and collision damage | Two |
| Seals and O-rings | Gas and water leaks | One full set |
| Gas and water filter elements | Clean gas and coolant | One set |
| Chiller dust filter | Cooling capacity | One |
| Deionizing filter or resin (if used) | Low coolant conductivity | One |
| Cabinet fuses and relays you use | Fast recovery after a trip | One of each type |
| Lint-free wipes, alcohol, gloves | Safe optics handling | One month of supply |
Tip 13: Write a One-Page SOP and Train Operators
A one-page standard operating procedure removes guesswork on every shift. Pair it with training so everyone knows where operator work ends.
| Task | Who does it | Note |
|---|---|---|
| Clean nozzle, protective lens, table and trays | Trained operator | Daily |
| Check chiller level, temperature and filters | Trained operator | At start-up |
| Center the nozzle and check focus | Trained operator | After every nozzle or lens change |
| Lubricate guides and racks | Trained operator | Use the specified lubricant |
| Back up parameters and cutting libraries | Trained operator | Monthly and after changes |
| Replace coolant | Trained operator or service engineer | Follow the manual |
| Open the laser source, work on high-voltage parts, disconnect the fiber connector | Qualified service engineer only | Safety critical |
| Service safety interlocks, realign the beam | Qualified service engineer only | Safety critical |
Seasonal Care and Long Shutdown Tips
Weather and idle time attack lasers in ways a daily checklist misses.
Tip 14: Adjust for Summer, Winter and Wet Seasons
| Season | Main risk | What to do |
|---|---|---|
| Hot summer | Chiller overload and a high room temperature | Clean condenser fins more often, keep clearance around the chiller, and cool the room |
| Humid or rainy season | Condensation on cold surfaces | Log the dew point, dehumidify the room, and keep the water setpoint above the dew point |
| Cold winter | Coolant freezing and cold starts | Keep the workshop above freezing, use approved antifreeze, and let the machine warm up before cutting |
Tip 15: Plan for Long Shutdowns
Holidays, slow seasons and relocations leave machines idle for weeks. Use this routine for any stop longer than two weeks, and check your manual for coolant instructions.
- Clean slag, dust and residue from the machine and table.
- Back up parameters and write a log entry.
- Close gas cylinder valves and depressurize the lines.
- Follow the manual for the chiller. Circulate or drain it, and protect it from freezing.
- Lubricate guides and racks with the specified lubricant.
- Cover the machine and keep the room dry with a dehumidifier or desiccant.
- Power up every month, run the chiller and move the axes.
- Before restart, inspect the optics, check coolant quality and the dew point, then run a test cut.
Laser Troubleshooting: Diagnose by What Changed
Start with the change, not the symptom. A machine that cut well last week did not wake up broken. Ask what changed, then follow the table. For a symptom-by-symptom list on fiber cutters, use the troubleshooting table in our maintenance guide.
| What changed recently | Likely suspects | First check |
|---|---|---|
| New material batch or supplier | Coating, oil film, flatness, alloy | Re-test the previous batch, then check flatness and focus |
| New nozzle or lens | Seating, centering, wrong part | Re-seat the part, re-center the nozzle, confirm the part number |
| New gas cylinder or tank | Purity, pressure, moisture | Check regulator pressure, purge the lines, drain the traps |
| Hot or humid weather | Condensation, chiller overload | Dew point margin, condenser fins, water setpoint |
| Crash or collision | Head damage, height sensor, alignment | Inspect the head, ceramic ring and sensor, then run a focus test |
| Power cut or restart | Parameters, homing, chiller state | Check parameters, home the axes, confirm chiller readings |
| Slow decline over weeks | Dirty optics, cooling scale, aging source | Time the reference job, then check lens, flow and conductivity |
Two alarms deserve extra respect. A repeated chiller alarm means the cooling loop has a fault you have not found. A back-reflection alarm means the source may be at risk. Log the code, stop, and investigate before you restart.
Boss Laser Troubleshooting: Quick Fixes for CO2 Laser Cutters
Boss Laser sells CO2 laser cutters and engravers, and many other hobby and small-shop cutters use the same CO2 technology. The causes below apply to CO2 machines in general. Follow your manufacturer’s manual and warranty terms first. Xinli does not sell or service Boss Laser machines.
| Symptom | Likely causes | What to check first |
|---|---|---|
| Fires but does not cut through | Poor focus, dirty lens or mirrors, speed too high, power too low, warped material | Re-focus, clean the optics, flatten the sheet, then run a power and speed test grid |
| Weak or inconsistent power | Dirty optics, misaligned mirrors, aging tube, warm cooling water | Clean the optics, run a mirror alignment test, check water temperature and flow |
| Does not fire | Open lid interlock, water flow protection, power supply, power setting too low | Check the lid and flow sensor, then the power settings |
| Stops or weakens at corners and slow speeds | Minimum power set below the level the tube needs to fire | Raise minimum power to a working level and test again |
| Burned edges or flare-ups | Weak air assist, dirty lens, resin or residue build-up | Check air assist, clean the lens, clear residue from the bed and exhaust |
| Smoke stains or odor | Weak exhaust, clogged filter or duct | Check the fan, duct and filter |
| Donut or split beam spot at the first mirror | Misalignment or a tube problem | Stop and contact the manufacturer |
| Cooling alarm | Low water, air in the lines, pump fault, warm water | Check level, flow and water temperature |
Change one variable at a time when you test settings. That habit shows you the real cause in minutes instead of hours.
Safety: CO2 laser power supplies carry lethal high voltage. Never open them, and wear eyewear rated for your machine’s wavelength.
Laser Cutting Machine Repair: When to Fix It and When to Call Service
Operators can repair anything that needs only cleaning supplies, basic tools for consumables and the manual. Anything that involves the laser source, high voltage, safety interlocks or beam alignment goes to a qualified engineer.
| Situation | Fix it in-house? | Reason |
|---|---|---|
| Dirty or damaged nozzle, protective lens or ceramic ring | Yes | These are wear parts |
| Clogged chiller filter, low coolant, loose hose clamp | Yes | Routine operator tasks |
| Gas leak at an accessible fitting | Yes, after depressurizing | Otherwise call your gas supplier |
| Chiller alarm persists after filter and level checks | Call service | The fault is inside the chiller |
| Source error, power drop or repeated back-reflection alarm | Call service | The laser source may be at risk |
| Servo, drive or controller fault | Call service | Needs diagnostic tools and parts |
| Water inside the cutting head or optics | Stop and call service | Moisture can destroy optics |
| Collision with a bent head or damaged fiber | Call service | Alignment and beam path need testing |
| Any job that opens the laser source or high-voltage parts | Service engineer only | Safety critical |
What to Prepare Before You Call
Good information cuts diagnosis time and downtime. Collect these items first:
- Machine model, serial number and operating hours
- The alarm code, with a photo or screenshot
- A short video of the fault
- Recent log entries and any changes since the last good cut
- Chiller temperature, flow and conductivity readings
- Room temperature and humidity
- Your current cutting parameters
Compare the cost of repair with the cost of lost hours. Our fiber laser cutting cost per hour guide shows how to put a price on each machine hour. Xinli machines carry a 24-month warranty with after-sales technical support, so contact our team if you need guidance on a fault.
10 Mistakes That Quietly Shorten Laser Life
| Mistake | What it causes | Better habit |
|---|---|---|
| Topping up coolant with tap water | Scale, algae, blocked flow | Use only the specified fluid |
| Resetting alarms without finding the cause | Repeat faults and possible source damage | Log the code, then diagnose |
| Wiping optics with used wipes or bare fingers | Scratches and film | Use a fresh wipe and powder-free gloves |
| Using shop air with oil or water as assist gas | Oil on lenses, unstable piercing | Fit dryers and filters, and drain traps |
| Changing parameters while optics are dirty | Wasted time and a worse cut | Clean first, then adjust |
| Over-greasing guides and racks | Dust and grit stick to the grease | Apply the specified lubricant in small amounts |
| Changing parameters without recording them | You cannot repeat a good cut | Keep a versioned cutting library |
| Running with clogged extraction filters | Smoke on optics and a fire risk | Check filters on a schedule |
| Ignoring new noises or vibration | Bearing and drive wear | Log it and inspect early |
| Skipping nozzle centering after a change | Taper and dross | Center the nozzle every time |
Metal Cutting Machine Maintenance Across the Whole Line
Most shops that run a laser also shear, bend and weld. The same habits work on every machine: one SOP, one log, one spares shelf and trained operators. Use these resources to extend them across the line.
- Cutting: compare capacity by material in our sheet metal cutting thickness guide, and browse the full Laser Cutting Machines range.
- Shearing: review the hydraulic guillotine shearing machine and our guillotine vs swing beam shear guide, or see all shearing machines.
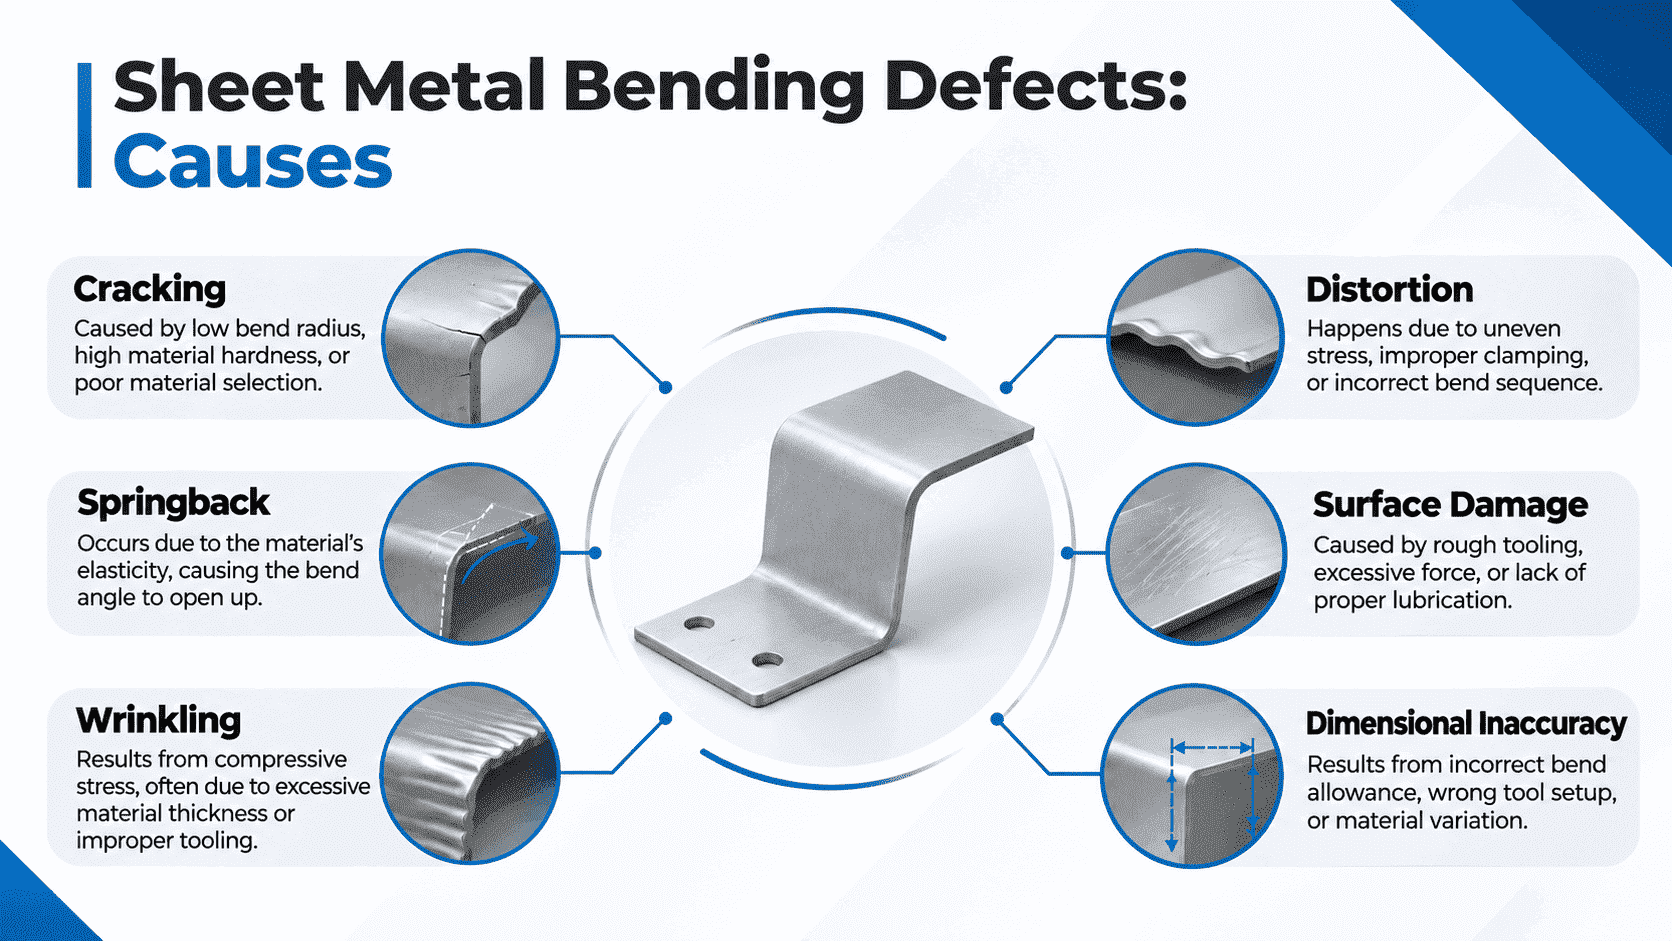
- Bending: explore our bending machines, compare CNC systems, and read how to prevent sheet metal bending defects.
- Welding: see the handheld laser welding machine. It shares chiller and protective lens care with the cutter.
See real installations in our Factory Cases, or learn more about Xinli Machinery.
Frequently Asked Questions About Maintenance Tips for Laser Machines
What are the most important maintenance tips for laser machines?
The most important maintenance tips for laser machines are to keep chiller water above the dew point, use the coolant your source maker specifies, protect optics with clean dry assist gas, follow one start-up and shutdown order, and track cutting speed, nozzle life and chiller readings. Operators handle cleaning and consumables. Qualified engineers handle the laser source and high-voltage parts.
How do I maintain the cooling system of an industrial laser machine?
Use the coolant named in the source manual, and never use tap water. Keep the set temperature a few degrees above the dew point, clean filters and condenser fins, record flow and pressure, and replace coolant on the manual’s interval. Measure conductivity when you change coolant or when an alarm appears.
What water should I use in a laser chiller?
Use the fluid your laser source maker specifies. Many manuals call for deionized or distilled water with low conductivity, while some systems use coolant with additives. Tap water leaves scale and feeds algae. Mixed fluids can cloud the loop, so drain and refill instead of topping up with a different fluid.
How do I prevent condensation on a laser cutter?
Keep the chiller water setpoint above the dew point of the room air, and control room humidity. Check temperature and humidity at start-up, and stay inside the setpoint limit in your manual. If condensation appears, stop emission, dry the area, dehumidify the room, and restart only after the parts are dry.
Why is my Boss Laser not cutting through?
The usual causes are poor focus, a dirty lens or mirrors, speed set too high, power set too low and warped material. Check focus first, clean the optics, then change one setting at a time using a power and speed test grid. If cuts stay weak, check mirror alignment, cooling and tube condition, and contact the manufacturer.
Can I repair a laser cutting machine myself?
You can replace nozzles, protective lenses, ceramic rings and filters, and you can clear faults caused by dirt or low coolant. Do not open the laser source, work on high-voltage parts, disable safety interlocks or realign the beam unless you are trained and authorized. Call a qualified engineer for those jobs.
How is fiber laser maintenance different from CO2 laser maintenance?
Fiber lasers deliver the beam through a flexible fiber, so you protect the connector, the fiber bend radius and the optics in the cutting head. CO2 lasers guide the beam with mirrors, so you also clean and align mirrors and watch the tube and exhaust. Both need clean water cooling and a stable motion system.
What spare parts should I keep for a laser cutter?
Keep nozzles for every type you use, spare protective lenses, ceramic rings, seals and O-rings, gas and water filter elements, chiller dust filters and cleaning supplies. Add the fuses and relays your cabinet uses. A good starting point is two to four weeks of average consumption for wear parts, adjusted after you track real usage.
How do I know if a drop in cutting speed means a fault?
Time a reference job on the same material, thickness and parameters each month. A slowdown of about 10% or more means something changed. Check the protective lens, nozzle, gas pressure, chiller temperature and flow first, then ask service to measure source power.
What should I do before calling for laser cutting machine repair?
Record the alarm code, take photos or a short video, and note machine hours and recent changes. Collect your maintenance log, chiller readings, and room temperature and humidity. Send these with the model and serial number. Clear information shortens diagnosis and reduces downtime.
Conclusion
The best maintenance tips for laser machines are small habits you repeat every shift: stable cooling above the dew point, clean gas and optics, a fixed start-up order, a few tracked numbers and a clear rule for when to call service. Add the right spares and a one-page SOP, and your machine stays accurate while your costs stay predictable.
Ready to upgrade or expand your cutting line? Review the Fiber Laser Cutting Machine (1,000 W to 6,000 W), then contact our team with your material, thickness and sheet size. We will recommend a configuration. For more practical guides, visit our News section.